How to Grow Microgreens
Microgreens are well-liked among food enthusiasts for salad dressings and garnishing for a good reason.
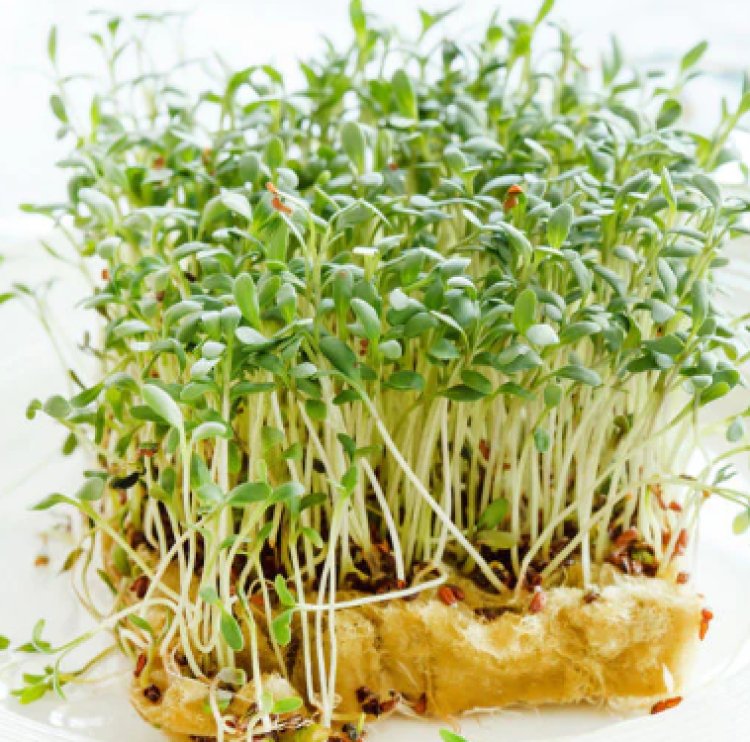
Microgreens are a young form of mature plants. It is essentially the plant's budding stage when the stems are only 2 to 3 inches taller and the leaves have just begun to sprout. Microgreens, which are frequently confused with sprouts, are entirely distinct from young shoots or sprouts because they are developed on soil as opposed to water, where sprouts are borne.
Difference between microgreens and sprouts

Despite their similarity up close, microgreens and sprouts are significantly distinct from one another.
The seeds that germinate and develop into sprouts are the young plants. They are cultivated using only water in a hydroponic setup. Sprouts are low in calories and a great source of nutrients. Sprouts are frequently germinated in water because they grow rapidly and can be collected in two to six days. Microgreens can be cultivated with or without soil, but utilizing soil as a growing medium is preferred and more practical.
Microgreens have a wide range of uses. They can be easily tossed into a taco or incorporated into a smoothie. You can use it to decorate soups and salads. Cooking microgreens is the only thing you should never do because it depletes them of their powerful vitamins and nutrients.
Sprouts are frequently used as salad toppings and to liven up sandwiches. Some sprout kinds are sautéed and added to dishes. Sprouts are frequently used as a garnish to add a finishing touch to numerous cuisines. Unlike microgreens, they don't really have a distinct flavor of their own.
Microgreens contain an enormous number of nutrients. A typical microgreen is considered to contain a lot more nutrients than its mature plant.
Sprouts are filled with protein and fiber.
Benefits of growing microgreens

These tiny greens have a ton of health benefits, and they are really easy to grow. Homegrown microgreens can be eaten right away after being harvested and are fully pesticide-free, making them the ideal way to ingest these young shoots.
When cultivated at home, microgreens are up to 60 times more nutritious than mature vegetables and contain essential vitamins and minerals.
They grow easily and cheaply with little hassle at all.
Microgreens are at their healthiest when consumed immediately, so what better way than to grow them in your garden.
These superfoods contribute a lot to the daily nutrition you consume or follow because they are bursting with flavor and nutrition.
How are microgreens grown?
Growing microgreens only requires four steps:
- Fill a pot, tray, or other container with new potting soil that is 4-5 inches deep. For improved results, the soil can be amended with manure.
- Over the dirt bed, scatter the seeds evenly. Give the seeds two days to germinate after covering them with a thin layer of dirt.
- When seedlings begin to emerge after three days, expose the container for the following five days to 3–4 hours of sunlight, a small amount of water, and fresh air.
- Take a sharp scissor or knife and clip the microgreens from just above the earth when the shoots are 2 to 3 inches long, being careful to spare the roots and soil bed.
Conclusion

Any green vegetable or salad element can be produced and collected in its microform, therefore there are no restrictions on this. Radish White, Amaranth Red, Pak Choi, Cauliflower, Cabbage, Broccoli, Onion, Beetroot, and a few other kinds are among the microgreens that are offered. Microgreens may not at all resemble their grown equivalent in terms of flavor and appearance. They go well with salads, shakes, smoothies, and many other dishes.
Check out the different types of microgreens you can grow in your home garden.


